
Is Your Tap And Drill Size Chart The Hidden Cause Behind Broken Bolts
Best Drill Bit for Glazed Ceramic Tile That Experts Swear By
Glazed ceramic tiles are durable yet delicate when drilled, requiring precision and the right tools. The best drill bit for glazed ceramic tile is a diamond-tipped bit, as it cuts cleanly through hard glaze without cracking. Carbide-tipped bits are also effective for moderate-density tiles but require careful handling. Professionals consistently favor diamond bits for their longevity and superior control during installation projects.
Properties of Glazed Ceramic Tile
Glazed ceramic tiles combine aesthetic appeal with technical complexity. Their surface, while glossy and protective, poses unique challenges for drilling because of its hardness and brittleness.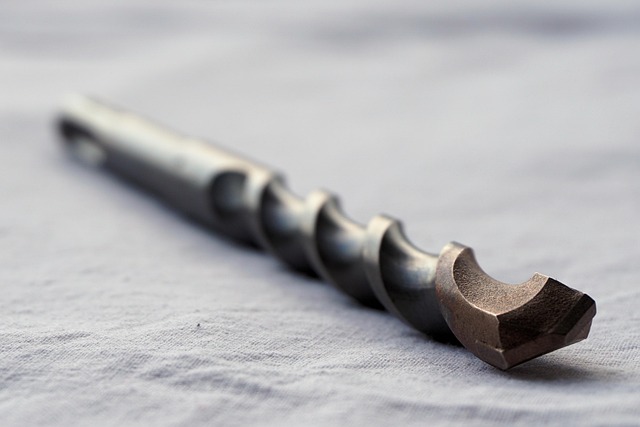
Composition and Surface Characteristics of Glazed Ceramic
Glazed ceramic tiles feature a hardened, glass-like surface that resists moisture and wear. The glaze layer increases brittleness, making controlled drilling essential. Variations in glaze thickness and hardness influence drilling technique and tool selection. A thicker glaze may demand a slower speed and continuous cooling to prevent microfractures.
Mechanical Behavior During Drilling
The glaze surface can chip or fracture under excessive pressure or heat. Vibration and torque fluctuations contribute to microcracks that weaken the tile’s structural integrity. Thermal expansion from friction must be managed to maintain precision, especially on wall-mounted installations where even minor cracks can propagate over time.
Selecting the Appropriate Drill Bit for Glazed Ceramic Tile
Choosing the right drill bit determines whether a project ends in success or cracked tiles. Material composition, geometry, and size all affect how efficiently the bit penetrates the surface.
Comparison of Drill Bit Materials
Carbide-tipped bits provide durability for moderate-density tiles, offering a balance between cost and performance. Diamond-tipped bits deliver superior results on hard glazes and porcelain surfaces due to their abrasive cutting edge that grinds rather than tears through material. Tungsten carbide spear-point bits are effective for smaller, precise holes such as those used in bathroom fittings or light fixtures.
Evaluating Drill Bit Geometry and Edge Design
Sharp-point geometry minimizes wandering on glossy surfaces by anchoring the bit immediately upon contact. Continuous rim diamond bits reduce chipping at entry points since they maintain constant engagement with the tile surface. Spiral flute design aids debris removal and heat dissipation during drilling, keeping both tool and tile cooler under load.
Recommended Drill Size Chart for Tile Applications
A practical drill size chart helps installers match hole dimensions to fixture requirements when learning how to drill into tile efficiently.
Standard Hole Sizes for Common Fixtures
6 mm bits suit small anchors or wall plugs typically used for lightweight accessories. 8 mm fits medium-duty mounts like towel bars or hooks. For larger fasteners or plumbing fixtures, 10–12 mm sizes are standard practice across most professional setups.
Adjusting Drill Size Based on Tile Thickness and Anchor Type
Thin wall tiles require minimal clearance to prevent edge stress during fastening. Thick floor tiles may need pilot holes before final diameter drilling to reduce lateral tension on the glaze layer.
Techniques to Drill Into Tile Without Cracks
Even with the best drill bit, improper technique can ruin an otherwise flawless tile job. Preparation, speed control, and cooling are key factors influencing success.
Preparing the Surface Before Drilling
Apply masking tape over the target area to stabilize the drill point and prevent slipping across glossy surfaces. Mark the exact spot using a non-permanent marker or punch guide for accuracy. Ensure the tile is securely fixed so vibration does not transfer through adjacent sections during drilling.
Controlling Speed, Pressure, and Cooling During Drilling
Maintaining proper speed prevents overheating while preserving bit sharpness.
Optimal Speed Settings for Different Bit Types
Use low RPMs (400–600) when working with diamond bits to avoid overheating that could soften bonding materials. Moderate speeds are acceptable for carbide tips if paired with intermittent cooling cycles between passes.
Managing Heat Through Cooling Methods
Employ water irrigation or a damp sponge near the drill site to regulate temperature effectively. Avoid dry drilling on glazed surfaces since frictional heat can cause thermal cracking invisible until after installation.
Step-by-Step Drilling Process for Precision Results
- Begin with a small pilot hole using light pressure until penetration starts.
- Maintain consistent alignment perpendicular to the tile surface throughout.
- Gradually increase bit size if required by fixture specifications while maintaining steady cooling intervals.
Troubleshooting Common Issues During Tile Drilling
Even skilled professionals encounter occasional flaws when working with glazed ceramics; understanding their causes helps refine future work quality.
Identifying Causes of Cracks or Chips Post Drilling
Excessive torque or sudden pressure changes can fracture glaze layers instantly upon breakthrough. Inadequate cooling leads to localized thermal stress cracks that often appear hours later once tiles settle into adhesive beds.
Preventive Measures for Future Drilling Tasks
Replace worn drill bits regularly since dull edges generate excess heat instead of cutting cleanly. Use variable-speed drills equipped with clutch control features to manage torque more precisely across different tile densities.
Advanced Considerations for Expert Installers
Experienced installers often integrate specialized equipment into their workflow to achieve consistent results across large projects involving patterned layouts or mixed materials.
Integrating Laser Guides and Depth Stops for Accuracy
Laser guides ensure hole alignment across multiple tiles in patterned layouts where even slight deviation disrupts symmetry. Adjustable depth stops prevent over-drilling into substrates beneath tiles such as waterproof membranes or heating mats common in modern bathrooms.
Evaluating Substrate Conditions Beneath Tiles Before Drilling
Identify backing material—cement board, drywall, concrete—to adjust drill type accordingly since each substrate reacts differently under pressure. Use multi-material anchors compatible with both tile and substrate composition for long-term mounting stability that resists vibration over years of service use.
FAQ
Q1: What is the best drill bit type for glazed ceramic tile?
A: Diamond-tipped bits offer superior performance due to their ability to grind through hard glazes smoothly without cracking edges.
Q2: Can regular masonry bits be used on glazed ceramic?
A: No, masonry bits tend to chip glaze because their cutting angle isn’t designed for brittle surfaces like ceramic finishes.
Q3: How do I keep my drill from slipping on glossy tile?
A: Apply masking tape over the area before marking your spot; it adds grip so the bit stays centered at startup.
Q4: Should water always be used when drilling into ceramic?
A: Yes, water acts as coolant reducing frictional heat buildup which otherwise risks causing microcracks along drilled edges.
Q5: How do I choose correct size from a drill size chart?
A: Match anchor diameter plus minor clearance—6 mm suits small plugs while 10–12 mm fits heavy-duty fixtures like shower rods or taps.