
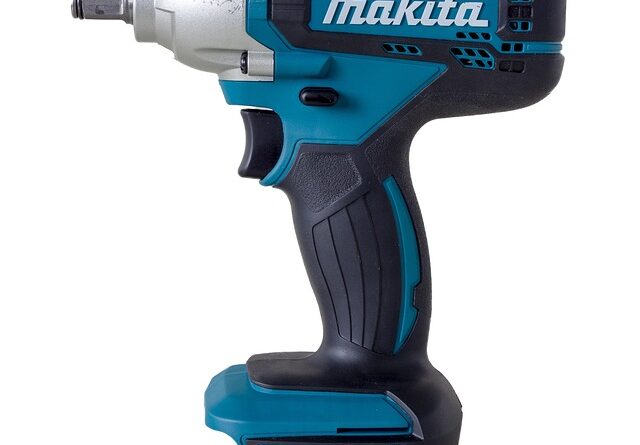
Why Is Your Hand Impact Driver Stripping Screws and How to Fix the Mode Issue
Why Your Impact Driver Is Stripping Screws—You’re Not Using the Right Mode
A hand impact driver is designed for controlled torque delivery, yet even professionals sometimes find screws stripped or damaged. The root cause often lies not in the tool’s power but in its mode selection. When the wrong speed or torque mode is used, the driver delivers excessive force before proper seating occurs. The result is a rounded screw head and wasted effort. Correct mode selection, bit maintenance, and awareness of material hardness are key to preventing such issues.
Why a Hand Impact Driver Strips Screws?
Screw stripping happens when mechanical and operational factors combine unfavorably. Torque mismanagement, worn bits, or poor alignment all contribute to this failure mode. Understanding these factors helps maintain precision during fastening tasks.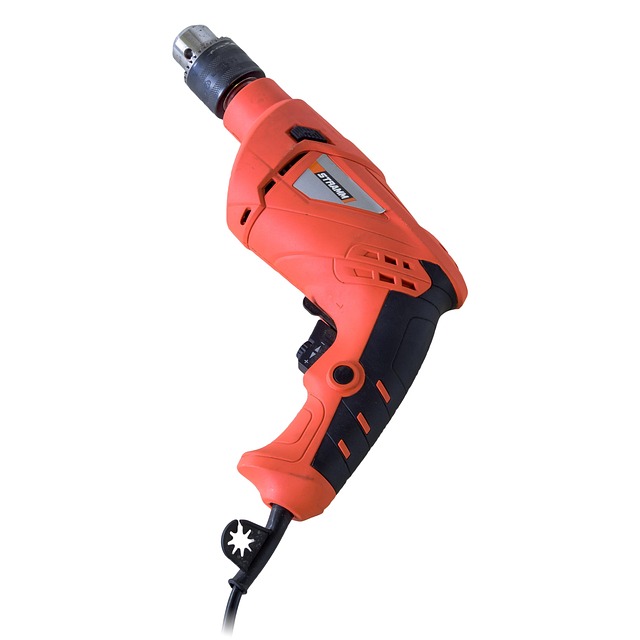
Mechanical Causes Behind Screw Stripping
Excessive torque output can easily deform screw heads, especially when driving into dense materials like steel or hardwood. Using the wrong bit size or a worn bit reduces contact area and increases slippage risk. Misalignment between the driver and screw head also causes partial engagement, leading to cam-out where the bit jumps out of the recess under load. Even experienced technicians can overlook how slight angular deviation multiplies torque stress at the contact edges.
The Role of Material and Screw Type
Material composition plays a major role in stripping behavior. Softer substrates such as aluminum or plastic deform faster under impact pulses. Standard screws not rated for impact use may twist or shear because their heads lack hardened reinforcement. Coated screws—like zinc-plated or ceramic-coated types—require specific torque settings since surface friction differs from uncoated fasteners. Matching screw grade with driver capability prevents premature wear and thread damage.
The Importance of Correct Mode Selection on an Impact Driver
Modern impact drivers feature multiple modes to balance speed and torque output for various applications. Selecting the right one directly affects both performance and screw integrity.
Differentiating Between Driving Modes
Each driving mode regulates torque differently. Low-speed modes are ideal for delicate assembly tasks where control outweighs speed, while high-speed modes handle lag bolts or structural fasteners requiring deep penetration. Misusing high-torque settings on small screws leads to stripped heads or even fractured threads within soft materials. Professionals often rely on tactile feedback rather than visual cues to gauge tightening progress—a practice that demands precision.
How Mode Settings Affect Torque Delivery
Electronic control units inside advanced impact drivers manage torque pulses per rotation cycle. Improper mode selection can trigger full rotational force before impact timing stabilizes, resulting in sudden energy spikes that damage screw heads. Correct adjustment allows consistent torque delivery without overdriving fasteners into substrates. This balance extends tool life and preserves material integrity during repetitive operations.
Techniques to Prevent Screw Stripping During Operation
Preventing stripped screws involves both correct technique and equipment care. Proper engagement between bit and fastener ensures maximum transfer efficiency without slippage.
Proper Bit Engagement and Maintenance Practices
Always match bit type—Phillips, Torx, hex—with its corresponding screw head design to maximize contact points. Regular inspection for rounding or wear is essential since even minor deformation reduces grip strength significantly. Applying steady perpendicular pressure keeps alignment true throughout fastening cycles, minimizing side loading that accelerates wear on both bit and screw recess.
Optimizing Speed and Pressure Control
Start at lower speeds so the bit seats securely before full torque engages. Allow the internal hammer mechanism of the hand impact driver to deliver controlled pulses rather than forcing manual rotation through resistance. Once noticeable resistance increases sharply, stop immediately; continued driving risks overtightening or shearing threads entirely.
Addressing Mode Issues in Hand Impact Drivers
When an impact driver fails to switch correctly between modes, it often signals internal misalignment or electronic malfunction rather than user error alone.
Diagnosing Incorrect Mode Functionality
Check whether the selector switch moves smoothly through all positions without sticking or grinding sensations. Internal debris buildup can obstruct proper contact engagement inside mechanical selectors. For models with electronic control circuits, verify responsiveness when toggling between settings—delayed reaction often indicates faulty signal transmission from trigger sensors to motor controller units.
Steps to Calibrate or Reset Mode Settings
Manual Adjustment Procedures
Disconnect any power source before performing calibration work for safety reasons. Cycle through each available mode several times manually to realign internal detents within selector assemblies. This process restores tactile accuracy in mechanical switching systems commonly found in corded hand impact drivers.
Electronic Reset Methods (For Advanced Models)
Manufacturers often provide software-based recalibration tools accessible via diagnostic interfaces or firmware updates through USB connection ports. Following official guidelines helps restore proper torque modulation behavior after prolonged use or accidental setting corruption during operation.
How to Get a Drill Bit Out of a Drill Safely and Efficiently?
Drill bits occasionally seize inside chucks due to overtightening, debris accumulation, or heat expansion during heavy-duty drilling sessions.
Common Reasons Bits Get Stuck in Drills
Overtightened chucks clamp down excessively under high-torque conditions typical when using an impact-rated drill functionally similar to a hand impact driver setup. Debris trapped inside chuck jaws restricts release movement, while thermal expansion from extended operation temporarily binds metal surfaces together until cooled.
Effective Methods for Removing a Stuck Drill Bit
Manual Release Techniques
Engage the chuck release mechanism while gently rotating counterclockwise by hand pressure only—forcing it may worsen binding damage internally. For keyed chucks found on older drills, use an appropriate wrench for added leverage but avoid sudden jerks that could strip internal threads.
Lubrication and Cooling Approaches
Apply penetrating oil around chuck interfaces allowing several minutes for capillary action to loosen frictional bonds formed by heat exposure or corrosion residue buildup. If heat expansion caused binding earlier, allow sufficient cooling time before retrying removal; metal contraction will naturally ease tension around the drill bit shank enabling safe extraction without tool damage.
FAQ
Q1: Why does my hand impact driver strip screws even with new bits?
A: Excessive torque from incorrect mode selection often damages screw heads before full seating occurs.
Q2: Can using non-impact-rated screws cause stripping?
A: Yes, standard screws deform more easily under repeated impact pulses compared with hardened variants designed for such loads.
Q3: How often should I replace my driver bits?
A: Replace bits once visible rounding appears; worn tips reduce engagement accuracy leading directly to cam-out failures.
Q4: Is it safe to lubricate stuck drill bits with household oil?
A: While possible temporarily, professional-grade penetrating oils provide better viscosity control for freeing seized parts safely.
Q5: What’s the best way to prevent overtightening when using an impact driver?
A: Select appropriate low-torque mode first then increase gradually only if necessary; this maintains thread integrity across varying materials efficiently.